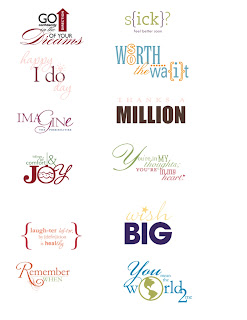
 After playing with it for a little while, I have a few tips to make it easier to add to your projects. I found it easier to line up & resize if you first add the whole image to your project.
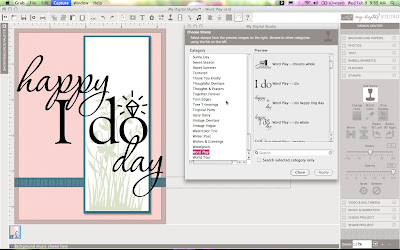
Next, resize and place your image.
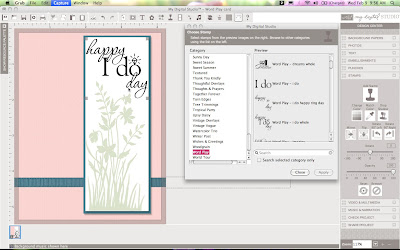 After adding, resizing, and placing your whole image, add one of the layers and recolor. (I chose the same color as my background so part of it does not show up in the picture)
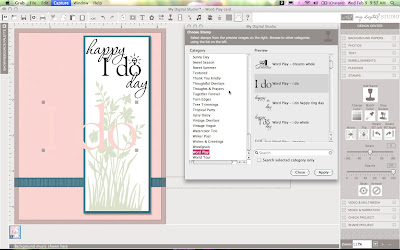 Move the first layer to the top of the whole stamp and using the whole stamp as a guide resize and move so they line up. (A little sliver of the bottom seems to poke out no matter how close the placement seems to be, but that's okay because you will eventually delete the whole stamp)
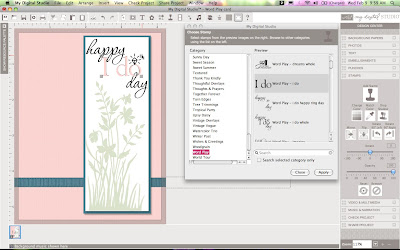 Repeat the last step with the second layer. (Add, recolor, resize, and move into place)
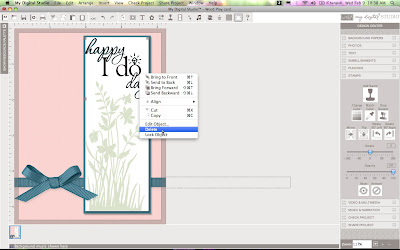
After resizing the image, select and move it back so the whole image is on top. Then select the whole image and delete it. If you delete the wrong image, just click undo and try again. It sometimes helps to click off the image so nothing is selected and try selecting again.
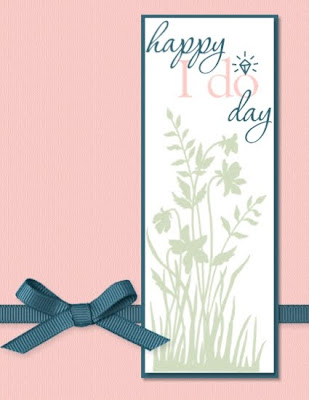
 I was so excited to see the stamps in parts so they could be colored differently. If you have any questions, let me know and I will do my best to answer them. Enjoy the new downloads!


Jodi, this is one of the most exciting things!!!! I can't wait to play with this. Thanks for the short tutorial!
ReplyDeleteThis is fantastic! Thank you for the great tutorial!
ReplyDeleteThanks for the tips Jodi!
ReplyDelete