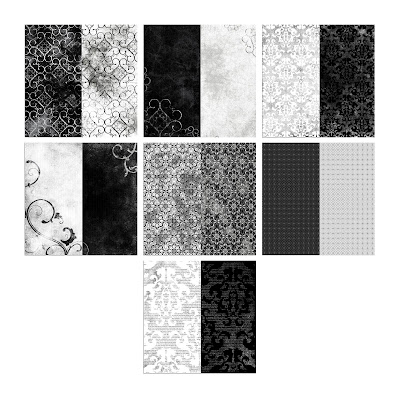
To double your paper, MDS needs to see the DSP as a photo. To do this, select "Background Papers" in the Design
Center, then choose "Designer Series Paper". Find the Night & Day DSP under Designer Kits and choose "Add as Page Layer".
 |
| Workspace after adding DSP as layer |
To make the layer bigger, double click on the square to bring up the crop window.
 |
| Crop Window |
Now when you click on the box, the Photos menu is selected in the Design Center. Click on "Photo Effect" box and choose "Negative".
 | |
| Photo Effects Options |
You will see a preview of your paper, select okay to apply it to the paper in your project. That's all there is to it! An easy way to almost double your Night and Day DSP (the polka dots are already doubled and there is not a noticeable difference to the hounds tooth). Here are samples of the papers and their negative:

Adding color to the papers is even easier! Add a square punch and resize to match your DSP. Fill with the color of your choice. After coloring the square punch to your choice of color, lower the opacity so you can see the DSP under it. For the sample I used (from top to bottom): Rich Razzleberry, Daffodil Delight, Marina Mist, Concord Crush, Pink Pirouette, and Cherry Cobbler.
Order online today!
118115 Night and Day Designer Series Paper


Very clever -- thanks for sharing with us!
ReplyDelete